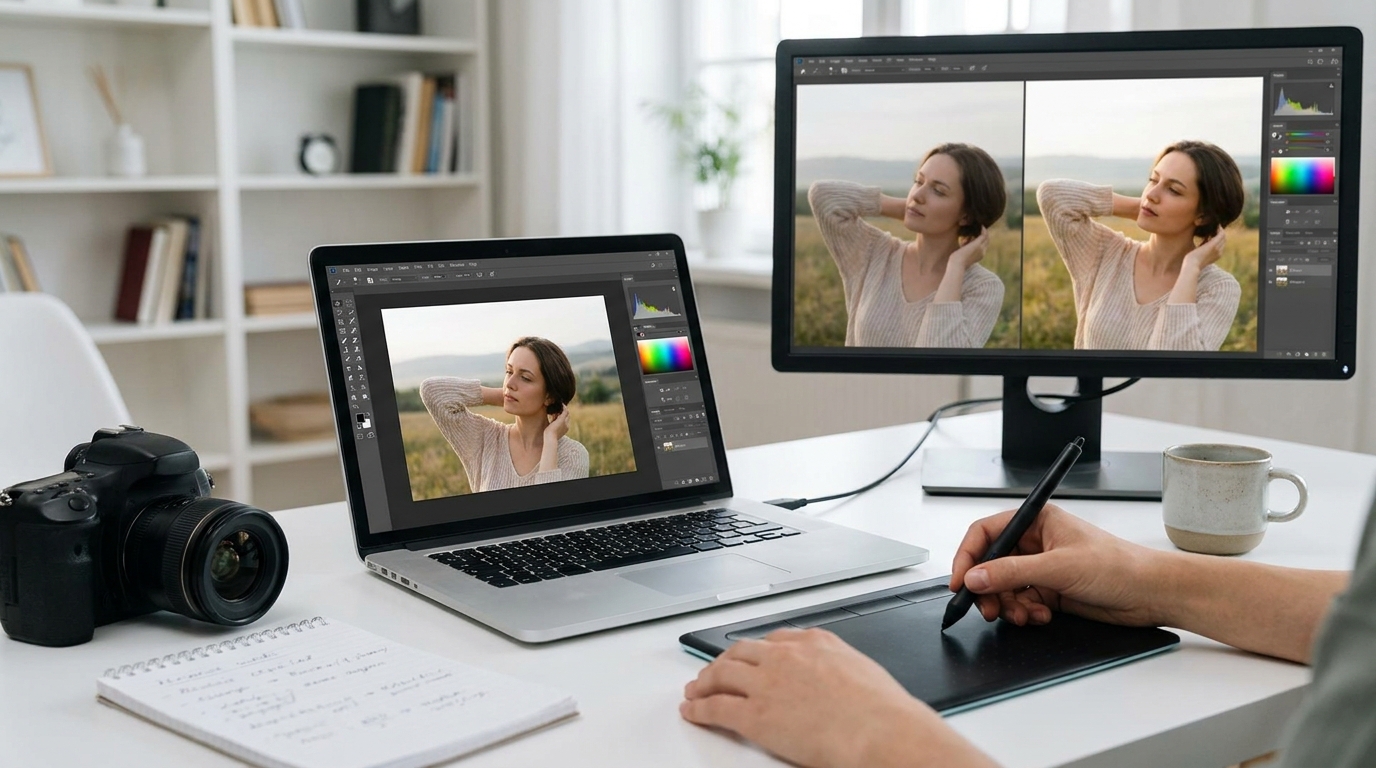
How to Edit Photos Like a Professional in 2026 Using Free Tools
Professional-looking edits don't require a Lightroom subscription. These free tools and techniques will transform your photos — with step-by-step guidance for beginners and the editing workflow professionals actually use.
Why Editing Matters as Much as Shooting
The gap between a good photograph and a great one is almost always closed in editing rather than capture. This is not a modern digital invention — Ansel Adams famously said "the negative is the score; the print is the performance," and spent as much time in the darkroom as in the field. Contemporary photo editing is the digital equivalent of the darkroom craft he pioneered.
This doesn't mean heavy-handed processing — the best editing is invisible. It means correcting the inevitable technical limitations of cameras (exposure, colour cast, lens distortion), enhancing the qualities that made a scene worth photographing in the first place, and making intentional decisions about mood, contrast, and colour that turn a technically adequate image into a compelling one.
And in 2026, you don't need to pay £12 / $10 per month for Adobe Lightroom to do this professionally. The free tools available are, in several specific ways, better than Lightroom for certain use cases — and for most beginners, they are entirely sufficient.
The Best Free Photo Editors in 2026
Lightroom Mobile (Free Version) — iOS and Android
Adobe's mobile Lightroom app has a genuinely capable free tier that includes the core editing tools — exposure, contrast, highlights, shadows, whites, blacks, colour temperature, tint, vibrance, and basic tone curves — alongside the AI-powered Masking tools that allow subject and sky selection with one tap. The free tier does not include presets, cloud sync, or the Healing Brush, but for the foundational edits that transform most photographs, the free tier is comprehensive.
Best for: Smartphone photographers who want the most powerful mobile editing tool with a genuinely capable free tier
Learning curve: Low — the interface is intuitive and Adobe's educational resources are extensive
Limitation: The free tier processes JPEGs, not RAW files — RAW editing requires the paid subscription
Darktable — Windows, Mac, Linux (Completely Free)
Darktable is a fully professional RAW photo editor and digital asset manager — the free, open-source equivalent of Adobe Lightroom. It reads virtually every camera's RAW format, includes a comprehensive set of editing tools including an excellent tone curve, a parametric mask editor, colour calibration module, and a noise reduction tool that rivals Lightroom's in quality. The non-destructive editing workflow preserves the original file while creating edit instructions that can be adjusted or removed at any time.
Darktable is not as beginner-friendly as Lightroom — the interface is more complex and assumes some photography knowledge. But for photographers willing to invest a few hours in learning the interface, it provides genuinely professional capabilities at zero cost.
Best for: Serious photographers on a budget who shoot in RAW and want professional-grade editing without subscriptions
Learning curve: Moderate to high — the interface rewards patience
Key advantage: Completely free, including RAW processing for all major camera formats, no subscription, no restrictions
RawTherapee — Windows, Mac, Linux (Completely Free)
RawTherapee is an alternative to Darktable for RAW processing with a different philosophy — it prioritises technical image quality above all else and includes one of the best demosaicing algorithms available in any software (including paid alternatives). The noise reduction, chromatic aberration correction, and lens correction tools are exceptional. The interface is more accessible than Darktable for some users but less so for others — personal preference determines which is more comfortable.
Best for: Technical photographers who prioritise image quality above workflow efficiency
Key advantage: Best-in-class RAW processing quality; frequently outperforms Lightroom on technical image quality metrics
Snapseed — iOS and Android (Free)
Google's Snapseed remains the best fully-featured free photo editing app for mobile devices. Its selective adjustment brush — which allows precise local adjustments to exposure, contrast, saturation, and structure — is more capable than equivalent tools in many paid apps. The "Looks" feature provides one-tap style applications that are significantly better than comparable filters in Instagram or other social apps. The Healing tool removes unwanted objects with impressive accuracy for a mobile application.
Best for: Mobile-first photographers who want comprehensive editing tools on a smartphone
Key advantage: The most powerful free mobile editing tool available; the selective adjustment brush is genuinely exceptional
GIMP — Windows, Mac, Linux (Free)
GIMP (GNU Image Manipulation Program) is the free alternative to Adobe Photoshop — appropriate for pixel-level editing, compositing, retouching, and any task that requires working with layers and selections. It is more complex than Lightroom-equivalent tools and is not designed for the photo organisation and batch editing workflow of a photography library manager. For specific retouching tasks — removing objects, compositing images, creating graphics — it is a genuinely capable professional tool at no cost.
Best for: Photographers who need Photoshop-style editing capabilities (layers, compositing, retouching) without the cost
Learning curve: High — the interface is complex and differs meaningfully from Photoshop
The Five Edits That Make the Biggest Difference
Regardless of which software you use, five adjustments consistently produce the most visible improvement in photographs. Master these before exploring more advanced tools.
1. Exposure and White Balance
These two adjustments correct the most fundamental technical errors in any photograph. Exposure sets the overall brightness — most images benefit from a slight lift if underexposed, or a pull-back if overexposed, to bring tonal values to where the eye expects them. White balance corrects colour casts caused by different light sources — indoor lighting (tungsten/incandescent) produces a warm orange cast; overcast daylight produces a cool blue cast. Adjusting temperature (blue-orange axis) and tint (green-magenta axis) to neutral grey in areas that should be neutral is the foundational colour correction step.
In practice: In Lightroom Mobile or Snapseed, adjust the Exposure slider until the brightest non-specular highlights are almost (but not quite) at maximum brightness. Then adjust Temperature until any obvious colour cast is removed from neutral grey areas.
2. Highlights and Shadows Recovery
Pulling the Highlights slider down recovers detail in bright areas that were at risk of overexposure (sky detail, window light, specular reflections). Pushing the Shadows slider up lifts dark shadow areas to reveal detail that was in the image but too dark to read. This "expose for the highlights, fill the shadows" approach is the single adjustment most consistently associated with professional-looking results — it produces images that feel natural and detailed rather than either washed out or excessively dark.
In practice: In most images, Highlights -40 to -60 and Shadows +30 to +50 produces a visible improvement. The exact values depend on the specific image — adjust to taste.
3. Clarity and Texture
Clarity adds midtone contrast — the kind that makes textures, surfaces, and architectural details feel crisp and three-dimensional. Texture works similarly but operates at a finer scale, enhancing detail without the global contrast effect of Clarity. Used together, modest amounts (Clarity +15 to +25, Texture +15 to +20) make images feel sharper and more detailed without the artificial "over-processed" look of excessive sharpening.
Warning: Portrait editing typically uses negative Clarity values (-10 to -20) to smooth skin texture. The same adjustment that makes a landscape look crisp makes portraits look harsh.
4. Selective Colour Grading
Adjusting the Hue, Saturation, and Luminance (HSL) of individual colours allows targeted changes without affecting the whole image. The most common applications: lifting the luminance of greens and yellows in landscape images to make foliage feel vibrant; adjusting the hue of blues to deepen sky tones; or modifying skin tone colour (orange and red channels) in portraits. Subtle adjustments here — shifts of 10-20 points rather than 50+ — produce sophisticated colour that feels intentional rather than processed.
5. Masking for Local Adjustments
The most powerful editing technique — adjusting specific areas of an image independently rather than globally. Brightening a face while darkening an overexposed background. Enhancing sky detail without affecting foreground. Selectively sharpening only the eyes in a portrait. Modern AI-powered masking (available in Lightroom Mobile's free tier, in Snapseed's selective brush, and in Darktable's parametric masks) makes this previously complex technique accessible to beginners in seconds.
Colour Grading Basics: Making Photos Look Professional
Colour grading — the intentional addition of colour tones to create mood — is the technique most associated with the "professional photographer" aesthetic in 2026. The most common approaches:
The Split Tone Approach
Adding a warm tone (orange, golden) to highlights and a cool tone (blue, teal) to shadows creates the contrast that makes images feel cinematic. In Lightroom Mobile's Color Grading panel, shift Highlights slightly toward warm tones (orange, yellow hues) and Shadows slightly toward cool tones (blue, teal). The degree of shift determines subtlety — most professional work uses shifts of 10-20 degrees in hue with saturation of 10-20%.
The Faded Film Look
Lifting the blacks (raising the minimum black point using the Black slider or the Tone Curve) produces the faded, lifted-shadow look associated with film photography and currently dominant in landscape and travel photography aesthetics. In Lightroom, raise the Blacks slider to approximately -15 to -30 (from the default -100). In Snapseed, use the Curves tool to lift the bottom-left anchor point of the curve slightly.
The Clean and Bright Look
The opposite approach — maximising contrast, boosting whites, cooling highlights slightly — produces the clean, airy look dominant in lifestyle and product photography. Characteristic adjustments: Whites +30 to +50, Blacks -20 to -40, Temperature slightly cool (toward blue), Vibrance +15 to +20.
A Complete Beginner Workflow in 10 Minutes
Import and organise — rename files, rate your best shots (focus only on the top 10–20% of any shoot)
Correct exposure and white balance — get tonal values and colour cast neutral before any creative work
Recover highlights and lift shadows — the single adjustment sequence producing the most improvement for the least effort
Add clarity and texture — increase for landscape/architecture, decrease for portraits
Make local adjustments — mask the sky, face, or key subject for independent adjustment
Apply colour grade — subtle split tone toward your preferred aesthetic
Sharpen and reduce noise — the final technical correction before export
Export — at appropriate resolution for intended use (full resolution for print, long edge 2048px for web)
free photo editing software 2026, edit photos like professional free, Lightroom alternatives free, Darktable tutorial, Snapseed tips, how to edit photos beginners, colour grading photography free, photo editing workflow, best free photo editor 2026, RawTherapee vs Lightroom



Discussion
Comments
Approved comments are published after moderation to keep discussion useful and spam-free.
No comments yet. Start the discussion below.